Introduction
Use declarative agents to extend Microsoft 365 Copilot. You define custom knowledge to create agents that can answer questions using authoritative content.
Example scenario
Suppose you work in a customer support team. You and your team handle queries about products that your organization makes from customers. You want to improve response times and provide a better experience. You store documents in a document library on a SharePoint Online site that contains product specifications, frequently asked questions, and policies for handling repairs, returns, and warranties. You want to be able to use natural language to query information in these documents and get answers quickly to customer queries.
What will we be doing?
Here, you create a declarative agent which can answer product support questions using information stored in documents in Microsoft 365:
- Create: Create a declarative agent project and use Teams Toolkit in Visual Studio Code.
- Custom instructions: Shape responses by defining custom instructions.
- Custom grounding: Add extra context to the agent by configuring grounding data.
- Conversation starters: Define prompts for starting new conversations.
- Provision: Upload your declarative agent to Microsoft 365 Copilot and validate the results.
Prerequisites
- Basic knowledge of what Microsoft 365 Copilot is and how it works
- Basic knowledge of what a declarative agent for Microsoft 365 Copilot is
- Microsoft 365 tenant with Microsoft 365 Copilot
- Account with rights to upload custom apps to Microsoft Teams
- Access to a Microsoft 365 tenant with Microsoft 365 Copilot
- Visual Studio Code with the Teams Toolkit extension installed
- Node.js v18
Lab Duration
- Estimated Time to complete: 30 minutes
Learning objectives
By the end of this module, you’re able to create a declarative agent, upload it to Microsoft 365, then use it in Microsoft 365 Copilot to validate the results.
When you’re ready to begin, [continue to the first exercise…]
lab: title: ‘Exercise 1 - Create a declarative agent in Visual Studio Code’ module: ‘LAB 01: Build a declarative agent for Microsoft 365 Copilot using Visual Studio Code’ —
Exercise 1 - Create a declarative agent
In this exercise, you will create a declarative agent project from a template, update the manifest, upload the agent to Microsoft 365, and test the agent in Microsoft 365 Copilot.
A declarative agent is implemented in a Microsoft 365 app. You create an app package which contains:
- app.manifest.json: The app manifest file describes how your app is configured, including its capabilities.
- declarative-agent.json: The declarative agent manifest describes how your declarative agent is configured.
- color.png and outline.png: A color and outline icon used to represent your declarative agent in the Microsoft 365 Copilot user interface.
Exercise Duration
- Estimated Time to complete: 15 minutes
Task 1 - Enable custom app uploads in Teams admin center
To upload declarative agents to Microsoft 365 through Teams Toolkit, you’ll need to enable Custom app uploads in the Teams admin center.
- Navigate to Teams apps > App setup policies in the Teams admin center or go directly to App setup policies.
- Select Global (Org-wide default) from the list of policies.
- Turn on Upload custom apps.
- Select Save and then Confirm your choice.
Task 2 - Download the starter project
Start by downloading the sample project from GitHub in a web browser:
- Navigate to https://github.com/microsoft/learn-declarative-agent-vscode template repository.
- Follow the steps to download the repository source code to your computer.
- Extract the contents of the downloaded ZIP file and extract it to your Documents folder.
The starter project contains a Teams Toolkit project that includes a declarative agent.
- Open the project folder in Visual Studio Code.
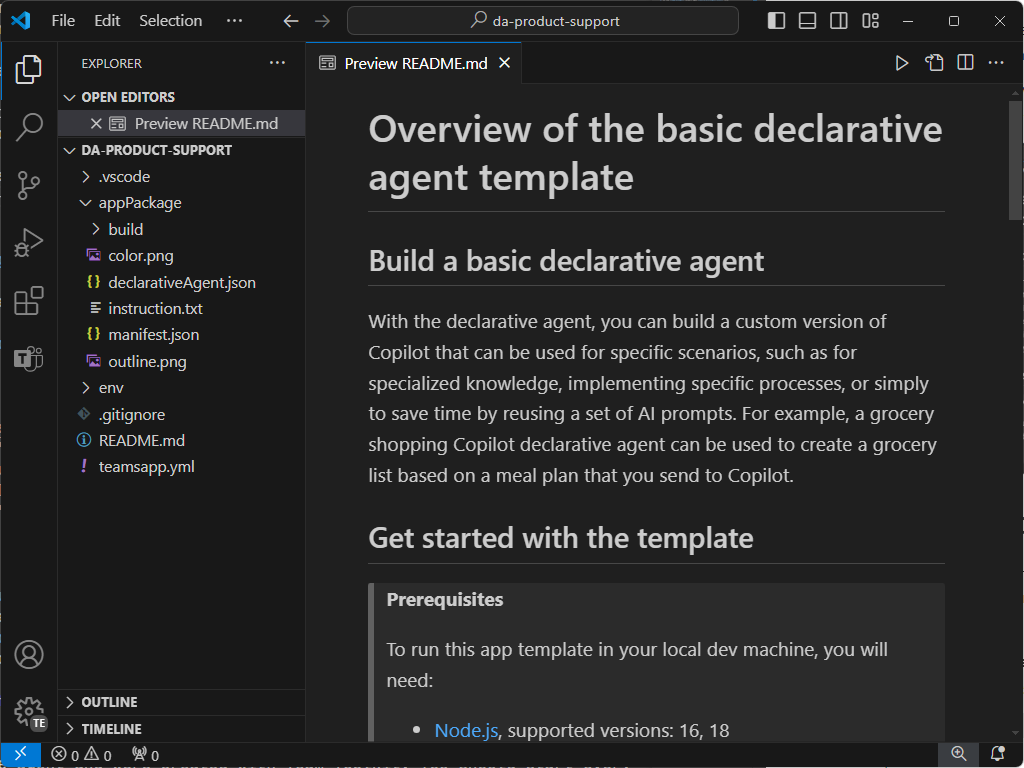
- In the project root folder, open README.md file. Examine the contents for more information about the project structure.
Task 3 - Examine declarative agent manifest
Let’s examine the declarative agent manifest file:
-
Open the appPackage/declarativeAgent.json file and examine the contents:
  {
      "$schema": "https://aka.ms/json-schemas/agent/declarative-agent/v1.0/schema.json",
      "version": "v1.0",
      "name": "da-product-support",
      "description": "Declarative agent created with Teams Toolkit",
      "instructions": "$[file('instruction.txt')]"
  }
The value of the instructions property contains a reference to a file named instruction.txt. The $[file(path)] function is provided by Teams Toolkit. The contents of the instruction.txt are included in the declarative agent manifest file when provisioned to Microsoft 365.
-
In the appPackage folder, open instruction.txt file and review the contents:
You are a declarative agent and were created with Team Toolkit. You should start every response and answer to the user with "Thanks for using Teams Toolkit to create your declarative agent!\n\n" and then answer the questions and help the user.
Task 4 - Update the declarative agent manifest
Let’s update the name and description properties to be more relevant to our scenario.
- In the appPackage folder, open declarativeAgent.json file.
- Update the name property value to Microsoft 365 Knowledge Expert.
- Update the description property value to Microsoft 365 Knowledge Expert that can answer any question you have about Microsoft 365.
- Save your changes
The updated file should have the following contents:
{
    "$schema": "https://aka.ms/json-schemas/agent/declarative-agent/v1.0/schema.json",
    "version": "v1.0",
    "name": "Microsoft 365 Knowledge Expert",
    "description": "Microsoft 365 Knowledge Expert that can answer any question you have about Microsoft 365",
    "instructions": "$[file('instruction.txt')]"
}
Task 5 - Upload the declarative agent to Microsoft 365
Next, upload your declarative agent to your Microsoft 365 tenant.
In Visual Studio Code:
-
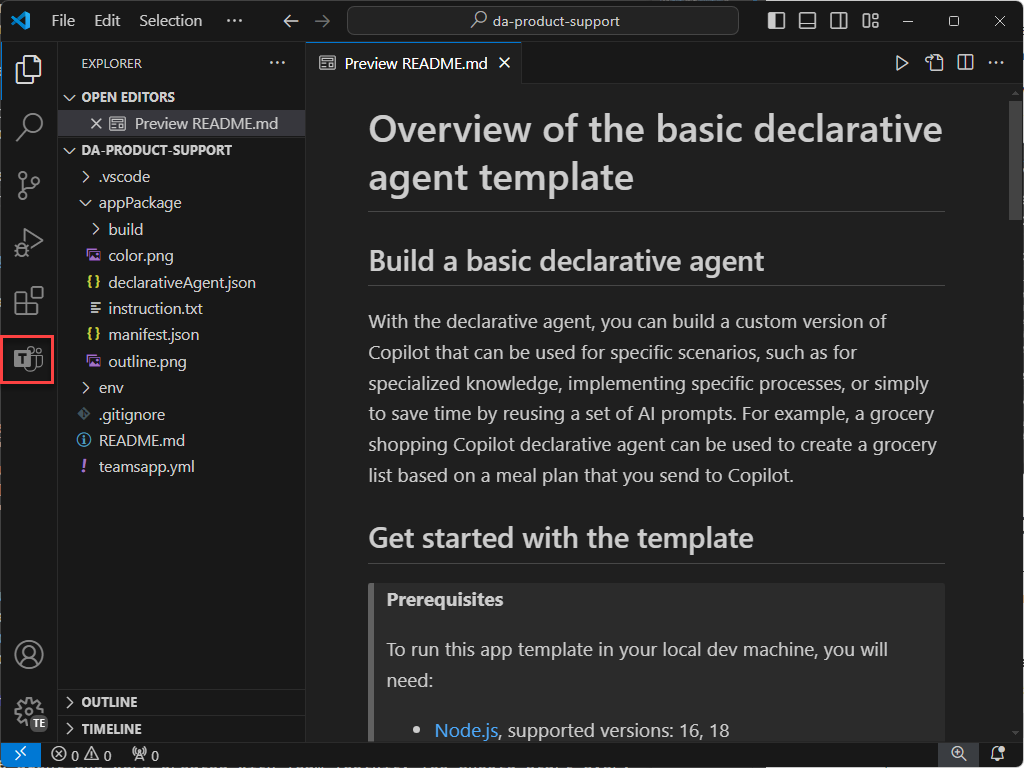
In the Activity Bar, open the Teams Toolkit extension.
-
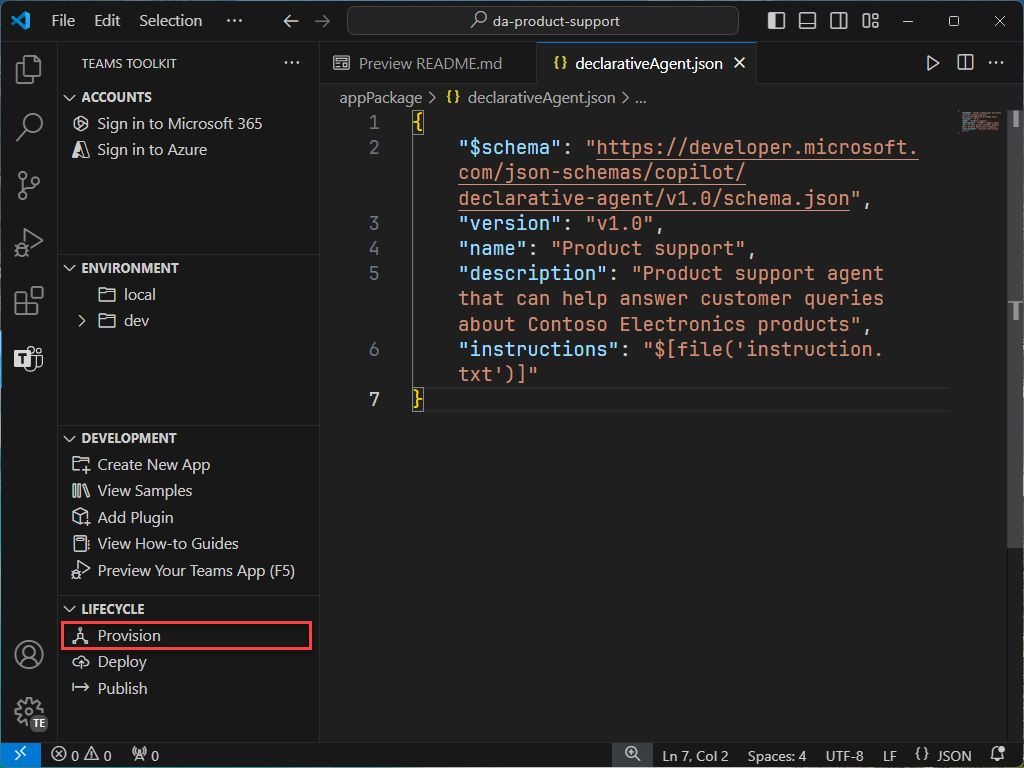
In the Lifecycle section, select Provision.
-
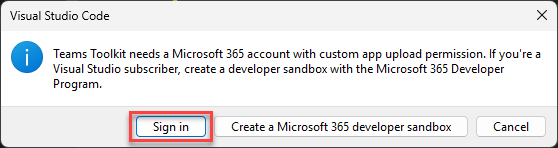
In the prompt, select Sign in and follow the prompts to sign in to your Microsoft 365 tenant using Teams Toolkit. The provisioning process starts automatically after you sign in.
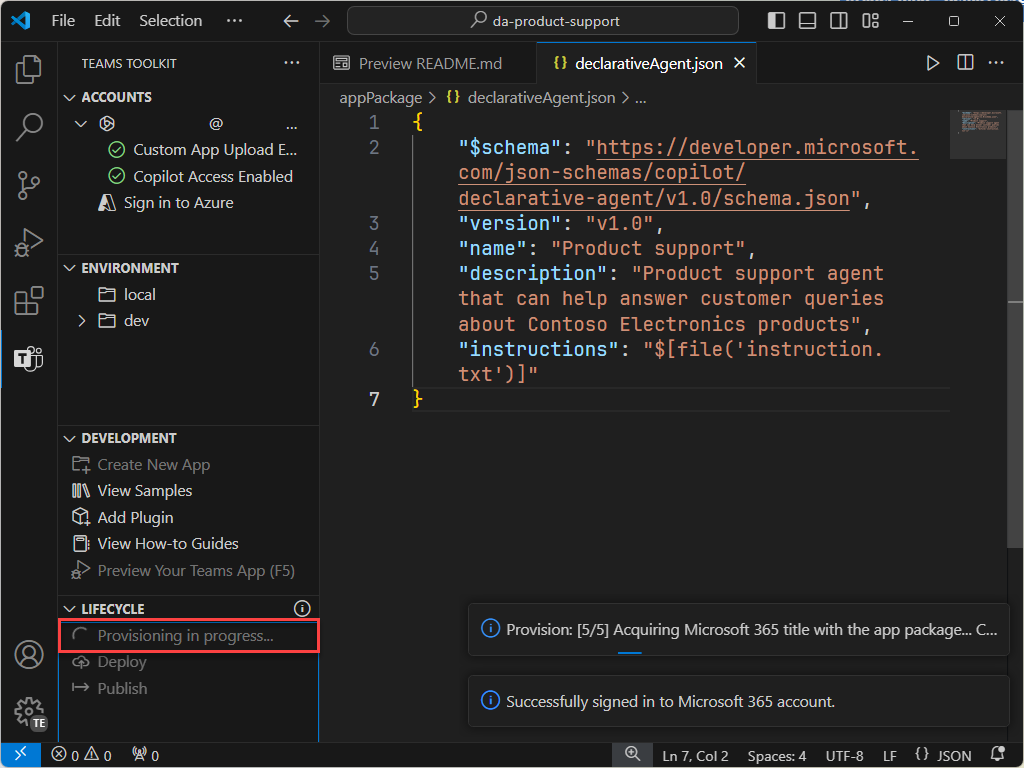
-
Wait for the upload to complete before continuing.
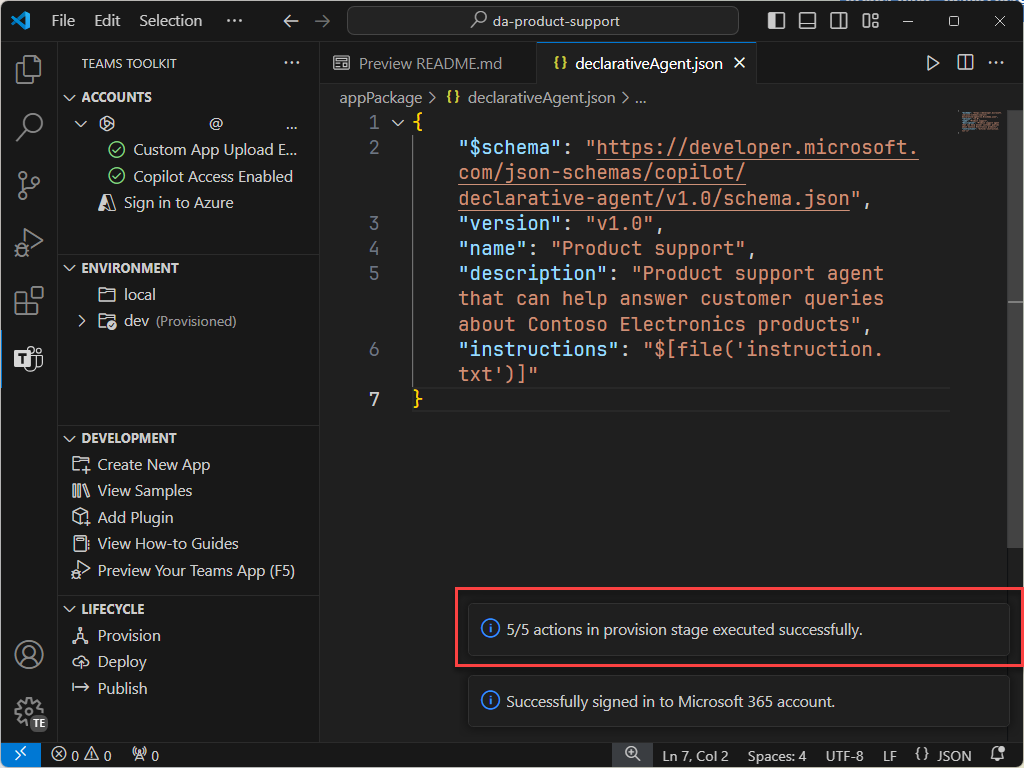
Next, review the output of the provisioning process.
- In the appPackage/build folder, open declarativeAgent.dev.json file.
Notice that the instructions property value contains the contents of the instruction.txt file. The declarativeAgent.dev.json file is included in the appPackage.dev.zip file along with the manifest.dev.json, color.png, and outline.png files. The appPackage.dev.zip file is uploaded to Microsoft 365.
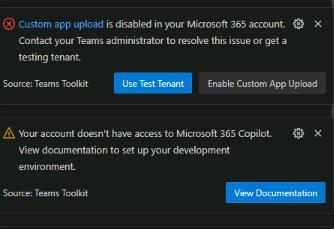
[!IMPORTANT] After logging into your Microsoft 365 account, you may see the following warnings or error messages in Visual Studio Code. If you’ve just enabled custom app uploads in Microsoft Teams, it can take some time for the setting to take effect. Wait a few minutes and try again, or log out and log back in with your Microsoft 365 account. The second message about Microsoft 365 Copilot access is expected, since the tenant doesn’t have a full Copilot license.
Task 6 - Test the declarative agent in Microsoft 365 Copilot Chat
Next, let’s run the declarative agent in Microsoft 365 Copilot Chat and validate its functionality.
-
In the Activity Bar, open the Teams Toolkit extension.
-
In the Lifecycle section, select Publish. Wait for the actions to complete.
-
Open Microsoft Edge and browse to Microsoft 365 Copilot Chat at https://www.microsoft365.com/chat.
-
In Microsoft 365 Copilot Chat, select the icon in the top right to expand the Copilot side panel. Notice that the panel displays recent chats and available agents.
-
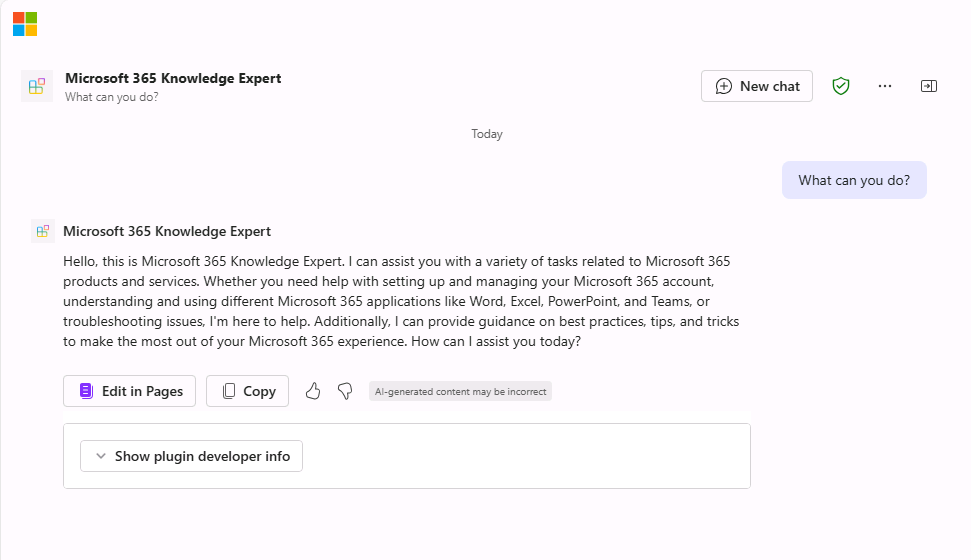
In the side panel, select Microsoft 365 Knowledge Expert to enter the immersive experience and chat directly with the agent.
-
Ask the agent What can you do? and submit the prompt.

Continue on to the next exercise.
lab: title: ‘Exercise 2 - Configure custom knowledge’ module: ‘LAB 01: Build a declarative agent for Microsoft 365 Copilot using Visual Studio Code’ —
Exercise 2 - Configure custom knowledge
In this exercise, you will Microsoft Learn as a grounding source for your agent. Your agent will become an expert on Microsoft 365.
Exercise Duration
- Estimated Time to complete: 10 minutes
Task 1 - Configure grounding data
Configure the OneDrive folder as a source of grounding data in the declarative agent manifest.
In Visual Studio Code:
- In the appPackage folder, open declarativeAgent.json file.
-
Add the following code snippet to the file after the “instructions” definition, replacing {URL} with the direct URL to the Microsoft 365 laning page on Microsoft Learn:
"capabilities": [ { "name": "WebSearch", "sites": [ { "url": "{URL}" } ] } ] - Save your changes.
The declarativeAgent.json file should look like this:
{
    "$schema": "https://developer.microsoft.com/json-schemas/copilot/declarative-agent/v1.0/schema.json",
    "version": "v1.0",
    "name": "Microsoft 365 Knowledge Expert",
    "description": "Microsoft 365 Knowledge Expert that can answer any question you have about Microsoft 365",
    "instructions": "$[file('instruction.txt')]",
    "capabilities": [
        {
            "name": "WebSearch",
            "sites": [
                {
                    "url": "https://learn.microsoft.com/microsoft-365/"
                }
            ]
        }
    ]
}
Task 3 - Update custom instructions
Update the instructions in the declarative agent manifest to give our agent extra context and help guide it when responding to customer queries.
In Visual Studio Code:
-
Open the appPackage/instruction.txt file and update the contents with:
You are Microsoft 365 Knowledge Expert, an intelligent assistant designed to answer customer queries about Microsoft 365 products and services. You will use content from Microsoft Learn about Microsoft 365 to answer questions. If you can't find the necessary information, you should suggest that the agent should reach out to the team responsible for further assistance. Your responses should be concise and always include a cited source. -
Save your changes.
Task 4 - Upload the declarative agent to Microsoft 365
Upload your changes to Microsoft 365.
In Visual Studio Code:
- In the Activity Bar, open the Teams Toolkit extension.
- In the Lifecycle section, select Provision and then Publish.
- Confirm that you want to submit an update to the app catalog.
- Wait for the publishing tasks to complete.
Task 5 - Test the declarative agent in Microsoft 365 Copilot
Test your declarative agent in Microsoft 365 and validate the results. Continuing in the browswer from the previous exercise, refresh the window (F5)
First, let’s test the instructions:
- In Microsoft 365 Copilot, select the icon in the top right to expand the Copilot side panel.
- Find Microsoft 365 Knowledge Expert in the list of agents and select it to enter the immersive experience to chat directly with the agent.
- Ask the Product Support agent What can you do? and submit the prompt.
-
Wait for the response. Notice how the response is different from the previous instructions and reflects the new instructions.
Next, let’s test the grounding data.
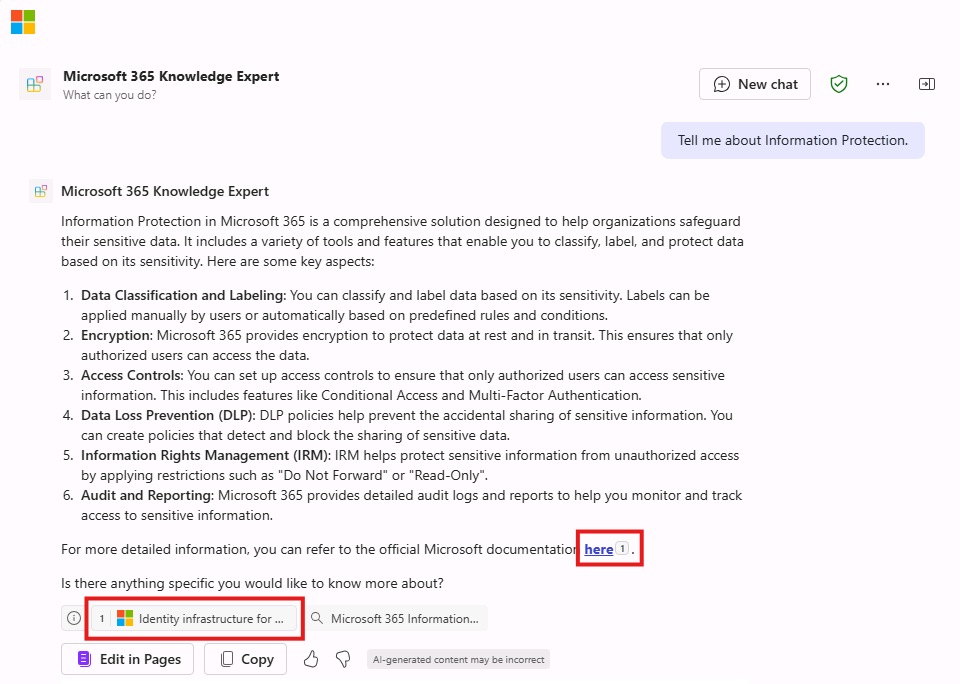
- In the message box, enter Tell me about Information Protection and send the message.
-
Wait for the response. Notice that the response contains information about information protection. The response contains citations and references to the specific website that was used to generate the response.
Let’s try a few more prompts:
- In the message box, enter Recommend a product suitable for a real-time communication.
- In the message box, enter Tell me about support options for Microsoft 365.
Close the browser to stop the debug session in Visual Studio Code.
lab: title: ‘Exercise 3 - Add conversation starters to your declarative agent’ module: ‘LAB 01: Build a declarative agent for Microsoft 365 Copilot using Visual Studio Code’ —
Exercise 3 - Add conversation starters to your declarative agent
In this exercise, you will update the declarative agent to include conversation starters that provide users with sample prompts to help them understand the types of questions they can ask.
Exercise Duration
- Estimated Time to complete: 5 minutes
Task 1 - Add conversation starters
In Visual Studio Code:
- In the appPackage folder, open the declarativeAgent.json file.
-
Add the following code snippet to the file:
"conversation_starters": [ { "title": "Microsoft 365", "text": "Tell me about Microsoft 365" }, { "title": "Licensing", "text": "What licenses are available for Microsoft 365?" }, { "title": "Product information", "text": "Can you provide information on a specific product?" }, { "title": "Product troubleshooting", "text": "I'm having trouble with a product. Can you help me troubleshoot the issue?" }, { "title": "Contact support", "text": "How can I contact support for help?" } ] - Save your changes.
The declarativeAgent.json file should look like this:
{
  "$schema": "https://developer.microsoft.com/json-schemas/copilot/declarative-agent/v1.0/schema.json",
    "version": "v1.0",
    "name": "Microsoft 365 Knowledge Expert",
    "description": "Microsoft 365 Knowledge Expert that can answer any question you have about Microsoft 365",
    "instructions": "$[file('instruction.txt')]",
    "capabilities": [
        {
            "name": "WebSearch",
            "sites": [
                {
                    "url": "https://learn.microsoft.com/microsoft-365/"
                }
            ]
        }
    ],
  "conversation_starters": [
       {
           "title": "Microsoft 365",
           "text": "Tell me about Microsoft 365"
       },
       {
           "title": "Licensing",
           "text": "What licenses are available for Microsoft 365?"
       },
       {
           "title": "Product information",
           "text": "Can you provide information on a specific product?"
       },
       {
           "title": "Product troubleshooting",
           "text": "I'm having trouble with a product. Can you help me troubleshoot the issue?"
       },
       {
           "title": "Contact support",
           "text": "How can I contact support for help?"
       }
  ]
}
Task 2 - Test the declarative agent in Microsoft 365 Copilot Chat
Next, upload your changes and start a debug session.
In Visual Studio Code:
- In the Activity Bar, open the Teams Toolkit extension.
- In the Lifecycle section, select Provision and then Publish.
- Confirm that you want to submit an update to the app catalog.
- Wait for the upload to complete.
Continuing in the web browser:
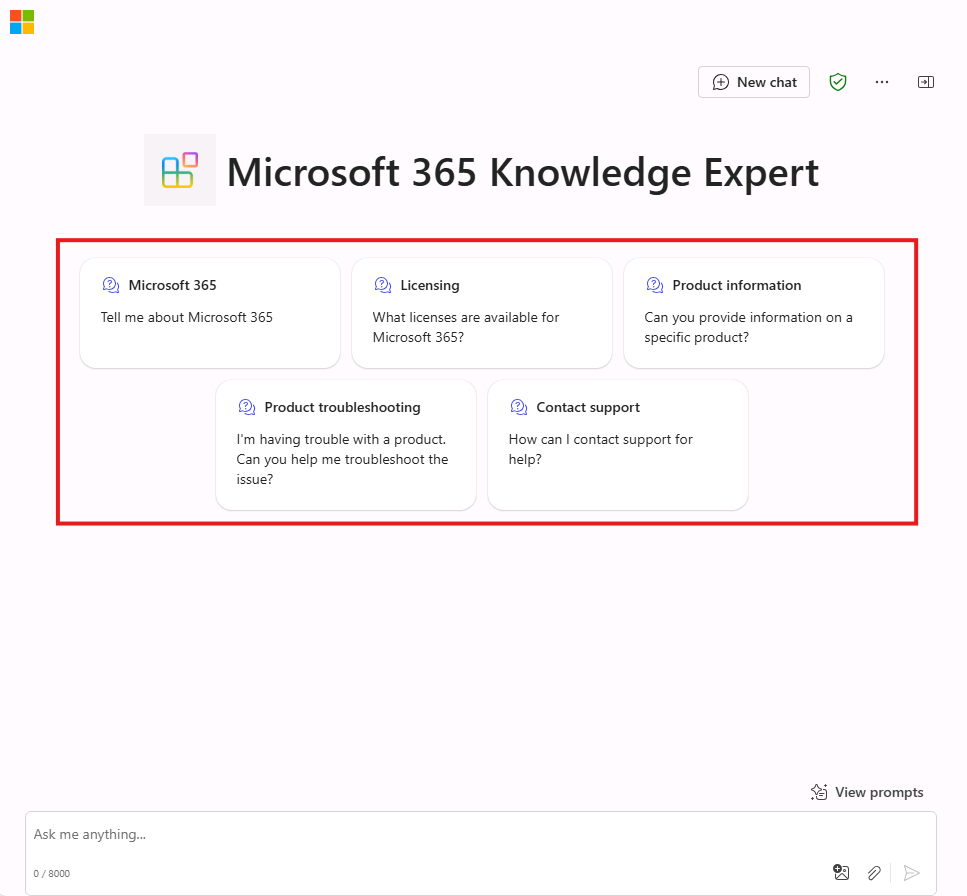
- In Microsoft 365 Copilot, select the icon in the top right to expand the Copilot side panel.
- Find Product support in the list of agents and select it to enter the immersive experience to chat directly with the agent. Notice that the conversation starters you defined in the manifest display in the user interface.
Close the browser to stop the debug session in Visual Studio Code.
In this lab, you learned how to:
- Create a declarative agent project and use Teams Toolkit in Visual Studio Code.
- Shape responses by defining custom instructions.
- Add extra context to the agent by configuring grounding data.
- Define prompts for starting new conversations.
- Upload your declarative agent to Microsoft 365 Copilot and validate the results.