Introduction
Declarative agents for Microsoft 365 Copilot let you create AI-powered assistants optimized for specific scenarios. Using instructions, you define the context for the agent and configure its tone of voice or how it should respond. By integrating an agent with an API, you allow the agent to connect to external applications to retrieve data and perform actions.
Example scenario
Suppose you work in a car repair shop. Your organization keeps track of the different repair requests using a specialized system. You and your colleagues regularly look up information about the different repairs. The current system offers a rudimentary search functionality that finds repairs only matching keywords. You would like to have an AI-powered assistant capable of answering questions about repairs, asked using natural language.
Learning objectives
By the end of this module, you’ll be able to integrate declarative agents with secured APIs. You’ll understand how to securely connect a declarative agent to APIs secured with API keys and OAuth.
Prerequisites
- Knowledge of what Microsoft 365 Copilot is and how it works at the beginner level
- Knowledge of how to build a Microsoft 365 Copilot declarative agent
- Knowledge of how to build a Graph connector
- Microsoft 365 tenant with Microsoft 365 Copilot, and tenant administrator privileges
- Visual Studio Code with the Teams Toolkit extension installed
- Azure Functions Core Tools
- Node.js v18
lab: title: ‘Exercise 1 - Integrate an API plugin with an API secured with a key’ module: ‘LAB 05: Authenticate your API plugin for declarative agents with secured APIs’ —
Exercise 1 - Integrate an API plugin with an API secured with a key
API plugins for Microsoft 365 Copilot allow you to integrate with APIs secured with a key. You keep the API key secure by registering it in the Teams vault. At runtime, Microsoft 365 Copilot executes your plugin, retrieves the API key from the vault, and uses it to call the API. By following this process, the API key stays secure and is never exposed to the client.
In this exercise, you create a new declarative agent with an API plugin that authenticates with an API key that you generate.
Exercise Duration
- Estimated Time to complete: 10 minutes
Task 1 - Create a new project
Start by creating a new API plugin for Microsoft 365 Copilot. Open Visual Studio Code.
In Visual Studio Code:
- In the Activity Bar (side bar), activate the Teams Toolkit extension.
- In the Teams Toolkit extension panel, choose Create a New App.
- From the list of project templates, choose Copilot Agent.
- From the list of app features, choose Declarative Agent.
- Choose the Add plugin option.
- Choose the Start with a new API option.
- From the list of authentication types, choose API Key (Bearer Token Auth).
- As the programming language, choose TypeScript.
- Choose a folder to store your project.
- Name your project da-repairs-key.
Teams Toolkit creates a new project that includes a declarative agent, an API plugin, and an API secured with a key.
Task 2 - Examine the API key authentication configuration
Before you continue, examine the API key authentication configuration in the generated project.
Examine the API definition
First, have a look at how API key authentication is defined in the API definition.
In Visual Studio Code:
- Open the appPackage/apiSpecificationFile/repair.yml file. This file contains the OpenAPI definition for the API.
- In the components.securitySchemes section, notice the apiKey property:
  components:
    securitySchemes:
    apiKey:
      type: http
      scheme: bearer
The property defines a security scheme that uses the API key as a bearer token in the authorization request header.
- Locate the paths./repairs.get.security property. Notice that it references the apiKey security scheme.
  [...]
  paths:
    /repairs:
    get:
      operationId: listRepairs
      [...]
      security:
      - apiKey: []
  [...]
Examine the API implementation
Next, see how the API validates the API key on each request.
In Visual Studio Code:
- Open the src/functions/repairs.ts file.
- In the repairs handler function, locate the following line which rejects all unauthorized requests:
  if (!isApiKeyValid(req)) {
    // Return 401 Unauthorized response.
    return {
    status: 401,
    };
  }
- The isApiKeyValid function is implemented further in the repairs.ts file:
  function isApiKeyValid(req: HttpRequest): boolean {
    const apiKey = req.headers.get("Authorization")?.replace("Bearer ", "").trim();
    return apiKey === process.env.API_KEY;
  }
The function checks if the authorization header contains a bearer token and compares it against the API key defined in the API_KEY environment variable.
This code shows a simplistic implementation of API key security, but it illustrates how API key security works in practice.
Examine the vault task configuration
In this project, you use Teams Toolkit to add the API key to the vault. Teams Toolkit registers the API key in the vault using a special task in the project’s configuration.
In Visual Studio Code:
- Open the ./teampsapp.local.yml file.
- In the provision section, locate the apiKey/register task.
  # Register API KEY
  - uses: apiKey/register
    with:
    # Name of the API Key
    name: apiKey
    # Value of the API Key
    primaryClientSecret: $
    # Teams app ID
    appId: $
    # Path to OpenAPI description document
    apiSpecPath: ./appPackage/apiSpecificationFile/repair.yml
    # Write the registration information of API Key into environment file for
    # the specified environment variable(s).
    writeToEnvironmentFile:
    registrationId: APIKEY_REGISTRATION_ID
The task takes the value of the SECRET_API_KEY project variable, stored in the env/.env.local.user file and registers it in the vault. Then, it takes the vault entry ID and writes it to the environment file env/.env.local. The outcome of this task is an environment variable named APIKEY_REGISTRATION_ID. Teams Toolkit writes the value of this variable to the appPackages/ai-plugin.json file that contains the plugin definition. At runtime, the declarative agent that loads the API plugin, uses this ID to retrieve the API key from the vault, and call the API securely.
Task 3 - Configure API key for local development
Before you can test the project, you need to define an API key for your API. Then, store the API key in the vault and record the vault entry ID in your API plugin. For local development, store the API key in your project and use Teams Toolkit to register it in the vault for you.
In Visual Studio Code:
- Open the Terminal pane (Ctrl + `).
- In a command line:
- Restore project’s dependencies, by running
npm install. - Generate a new API key by running:
npm run keygen. - Copy the generated key to clipboard.
- Open the env/.env.local.user file.
- Update the SECRET_API_KEY property to the newly generated API key. The updated property looks as follows:
SECRET_API_KEY='your_key'
- Save your changes.
Each time you build the project, Teams Toolkit automatically updates the API key in the vault and updates your project with vault entry ID.
lab: title: ‘Exercise 2 - Test declarative agent in Microsoft 365 Copilot Chat’ module: ‘LAB 05: Authenticate your API plugin for declarative agents with secured APIs’ —
Exercise 2 - Test declarative agent in Microsoft 365 Copilot Chat
In this exercise, you will test and deploy your declarative agent to Microsoft 365 and test it using Microsoft 365 Copilot Chat.
Exercise Duration
- Estimated Time to complete: 10 minutes
Task 1 - Test the declarative agent with the API plugin in Microsoft 365 Copilot Chat
The final step is to test the declarative agent with the API plugin in Microsoft 365 Copilot.
In Visual Studio Code:
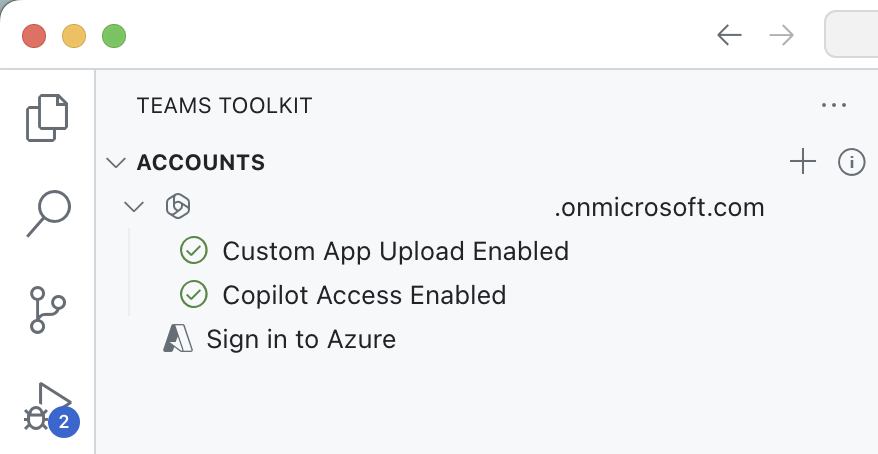
- In the Activity Bar, activate the Teams Toolkit extension.
- In the Teams Toolkit extension panel, in the Accounts section, be sure you’re signed in to your Microsoft 365 tenant.
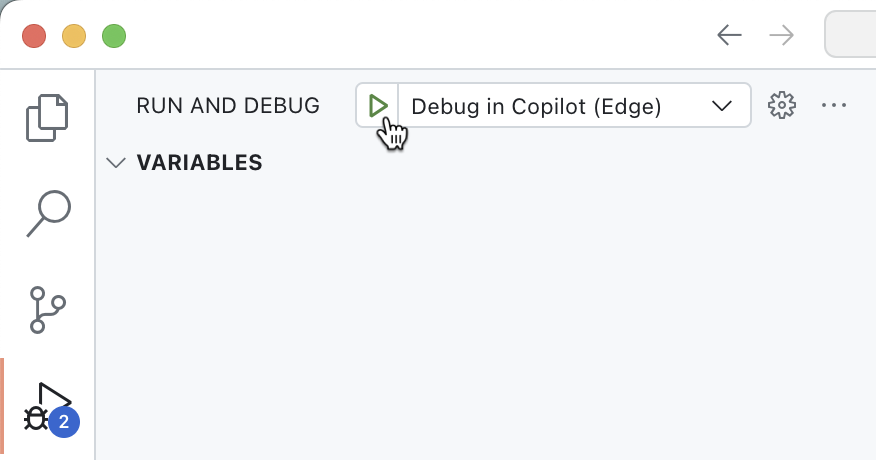
- In the Activity Bar, switch to the Run and Debug view.
- From the list of configurations, choose Debug in Copilot (Edge) and press the play button to start debugging.
Visual Studio Code opens a new web browser with Microsoft 365 Copilot Chat. If prompted, sign in with your Microsoft 365 account.
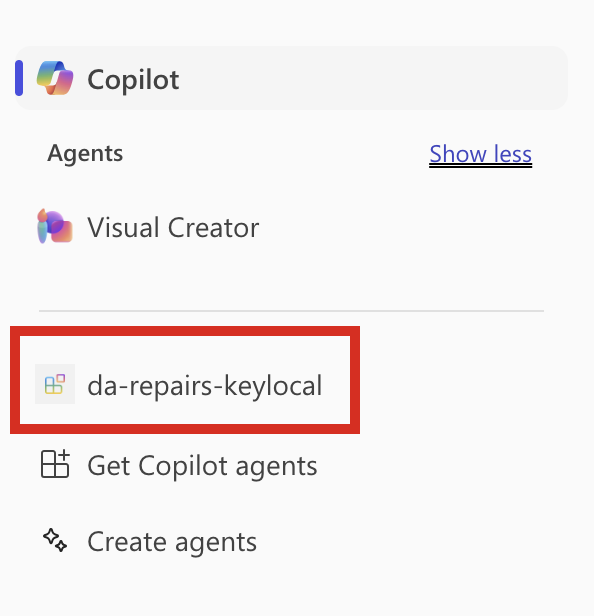
In the web browser:
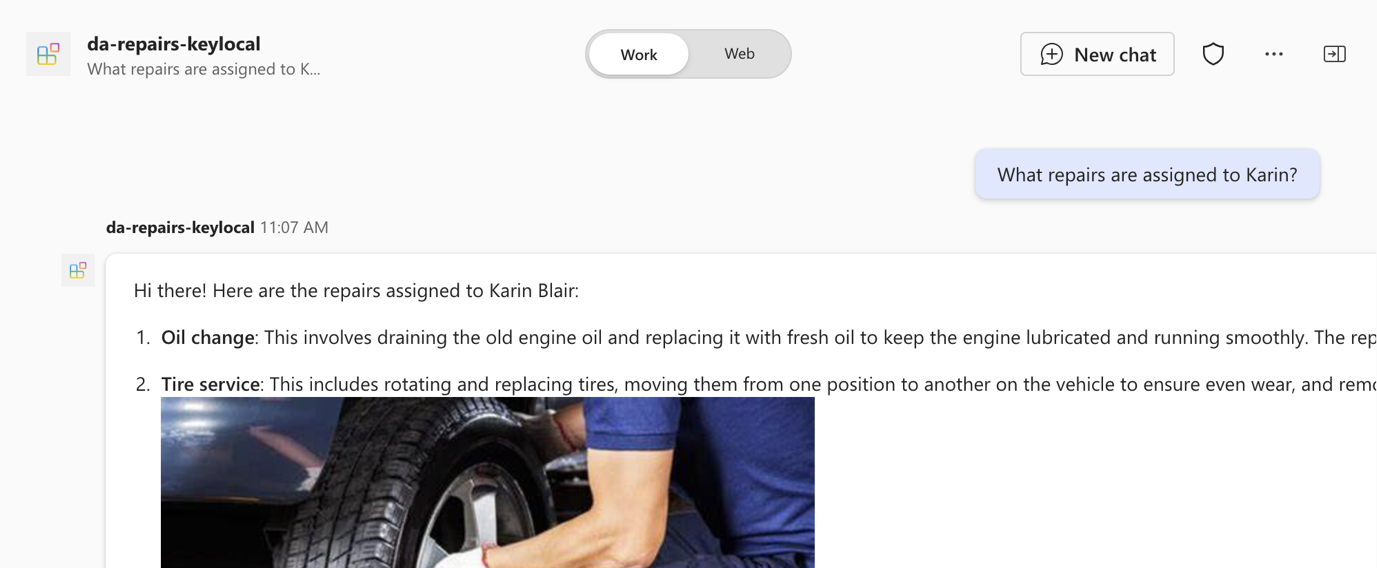
- From the side panel, select the da-repairs-keylocal agent.
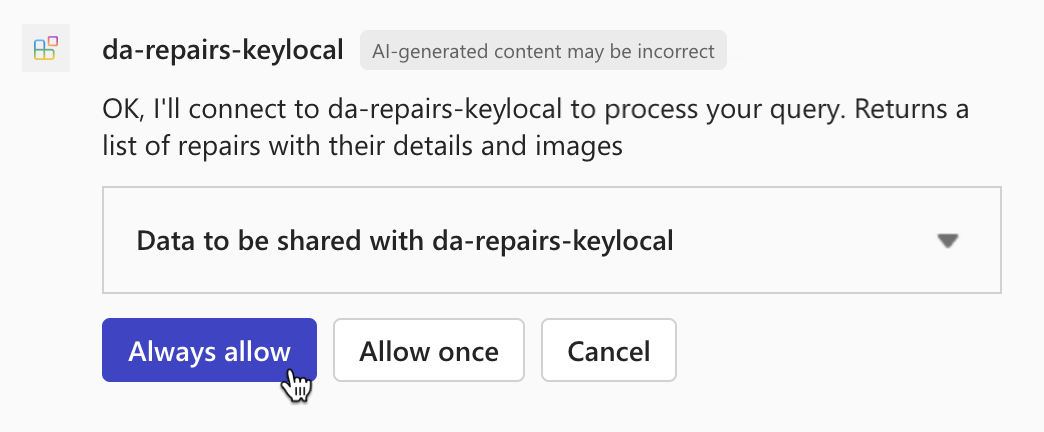
- In the prompt text box, type
What repairs are assigned to Karin?and submit the prompt. - Confirm that you want to send data to the API plugin using the Always allow button.
- Wait for the agent to respond.
Stop the debugging session in Visual Studio Code when you’re done testing.
lab: title: ‘Exercise 3 - Integrate an API plugin with an API secured with OAuth’ module: ‘LAB 05: Authenticate your API plugin for declarative agents with secured APIs’ —
Exercise 3 - Integrate an API plugin with an API secured with OAuth
API plugins for Microsoft 365 Copilot allow you to integrate with APIs secured with OAuth. You keep the client ID and secret of the app that protects your API secure by registering them in the Teams vault. At runtime, Microsoft 365 Copilot executes your plugin, retrieves the information from the vault, and uses it to get an access token and call the API. By following this process, the client ID and secret stay secure and are never exposed to the client.
Exercise Duration
- Estimated Time to complete: 10 minutes
Task 1 - Open the sample project and examine authentication configuration
Start by downloading the sample project:
- In a web browser, navigate to https://aka.ms/learn-da-api-ts-repairs. You get a prompt to download a ZIP file with the sample project.
- Save the ZIP file on your computer.
- Extract the ZIP file contents.
- Open the folder in Visual Studio Code.
The sample project is a Teams Toolkit project that includes a declarative agent, an API plugin, and an API secured with Microsoft Entra ID. The API is running on Azure Functions and implements security using Azure Functions’ built-in authentication and authorization capabilities, sometimes referred to as Easy Auth.
Task 2 - Examine the OAuth2 authorization configuration
Before you continue, examine the OAuth2 authorization configuration in the sample project.
Examine the API definition
First, have a look at the security configuration of the API definition included in the project.
In Visual Studio Code:
- Open the appPackage/apiSpecificationFile/repair.yml file.
- In the components.securitySchemes section, notice the oAuth2AuthCode property:
  components:
    securitySchemes:
    oAuth2AuthCode:
      type: oauth2
      description: OAuth configuration for the repair service
      flows:
      authorizationCode:
        authorizationUrl: https://login.microsoftonline.com/$/oauth2/v2.0/authorize
        tokenUrl: https://login.microsoftonline.com/$/oauth2/v2.0/token
        scopes:
        api://$/repairs_read: Read repair records
The property defines an OAuth2 security scheme and includes information about the URLs to call to get an access token and which scopes the API uses.
IMPORTANT Notice, that the scope is fully-qualified with the application ID URI (api://…). When working with Microsoft Entra you need to fully-qualify custom scopes. When Microsoft Entra sees an unqualified scope, it assumes that it belongs to Microsoft Graph, which leads to authorization flow errors.
- Locate the paths./repairs.get.security property. Notice that it references the oAuth2AuthCode security scheme and scope that the client needs to perform the operation.
  [...]
  paths:
    /repairs:
    get:
      operationId: listRepairs
      [...]
      security:
      - oAuth2AuthCode:
        - api://$/repairs_read
  [...]
IMPORTANT Listing the necessary scopes in the API spec is purely informational. When implementing the API, you’re responsible for validating the token and checking that it contains the necessary scopes.
Examine the API implementation
Next, have a look at the API implementation.
In Visual Studio Code:
- Open the src/functions/repairs.ts file.
- In the repairs handler function, locate the following line which checks if the request contains an access token with the necessary scopes:
  if (!hasRequiredScopes(req, 'repairs_read')) {
    return {
    status: 403,
    body: "Insufficient permissions",
    };
  }
- The hasRequiredScopes function is implemented further in the repairs.ts file:
  function hasRequiredScopes(req: HttpRequest, requiredScopes: string[] | string): boolean {
    if (typeof requiredScopes === 'string') {
    requiredScopes = [requiredScopes];
    }

    const token = req.headers.get("Authorization")?.split(" ");
    if (!token || token[0] !== "Bearer") {
    return false;
    }

    try {
    const decodedToken = jwtDecode<JwtPayload & { scp?: string }>(token[1]);
    const scopes = decodedToken.scp?.split(" ") ?? [];
    return requiredScopes.every(scope => scopes.includes(scope));
    }
    catch (error) {
    return false;
    }
  }
The function starts by extracting the bearer token from the authorization request header. Next, it uses the jwt-decode package to decode the token and get the list of scopes from the scp claim. Finally, it checks if the scp claim contains all required scopes.
Notice that the function isn’t validating the access token. Instead, it only checks if the access token contains the required scopes. In this template, the API is running on Azure Functions and implements security using Easy Auth, which is responsible for validating the access token. If the request doesn’t contain a valid access token, the Azure Functions runtime rejects it before it reaches your code. While Easy Auth validates the token, it doesn’t check the necessary scopes, which you need to do yourself.
Examine the vault task configuration
In this project, you use Teams Toolkit to add the OAuth information to the vault. Teams Toolkit registers the OAuth information in the vault using a special task in the project’s configuration.
In Visual Studio Code:
- Open the ./teampsapp.local.yml file.
- In the provision section, locate the oauth/register task.
  - uses: oauth/register
    with:
    name: oAuth2AuthCode
    flow: authorizationCode
    appId: $
    clientId: $
    clientSecret: $
    isPKCEEnabled: true
    # Path to OpenAPI description document
    apiSpecPath: ./appPackage/apiSpecificationFile/repair.yml
    writeToEnvironmentFile:
    configurationId: OAUTH2AUTHCODE_CONFIGURATION_ID
The task takes the values of the TEAMS_APP_ID, AAD_APP_CLIENT_ID, and SECRET_AAD_APP_CLIENT_SECRET project variables, stored in the env/.env.local and env/.env.local.user files and registers them in the vault. It also enables Proof Key for Code Exchange (PKCE) as an extra security measure. Then, it takes the vault entry ID and writes it to the environment file env/.env.local. The outcome of this task is an environment variable named OAUTH2AUTHCODE_CONFIGURATION_ID. Teams Toolkit writes the value of this variable to the appPackages/ai-plugin.json file that contains the plugin definition. At runtime, the declarative agent that loads the API plugin, uses this ID to retrieve the OAuth information from the vault, and start and auth flow to get an access token.
IMPORTANT The oauth/register task is only responsible for registering the OAuth information in the vault if it doesn’t exist yet. If the information already exists, Teams Toolkit will skip running this task.
- Next, locate the oauth/update task.
  - uses: oauth/update
    with:
    name: oAuth2AuthCode
    appId: $
    apiSpecPath: ./appPackage/apiSpecificationFile/repair.yml
    configurationId: $
    isPKCEEnabled: true
The task keeps the OAuth information in the vault synchronized with your project. It’s necessary for your project to work properly. One of the key properties is the URL on which your API plugin is available. Each time you start your project, Teams Toolkit opens a dev tunnel on a new URL. The OAuth information in the vault needs to reference this URL for Copilot to be able to reach your API.
Examine the authentication and authorization configuration
The next part to explore is the Azure Functions’ authentication and authorization settings. The API in this exercise uses Azure Functions’ built-in authentication and authorization capabilities. Teams Toolkit configures these capabilities while provisioning Azure Functions to Azure.
In Visual Studio Code:
- Open the infra/azure.bicep file.
- Locate the authSettings resource:
  resource authSettings 'Microsoft.Web/sites/config@2021-02-01' = {
    parent: functionApp
    name: 'authsettingsV2'
    properties: {
    globalValidation: {
      requireAuthentication: true
      unauthenticatedClientAction: 'Return401'
    }
    identityProviders: {
      azureActiveDirectory: {
      enabled: true
      registration: {
        openIdIssuer: oauthAuthority
        clientId: aadAppClientId
      }
      validation: {
        allowedAudiences: [
        aadAppClientId
        aadApplicationIdUri
        ]
      }
      }
    }
    }
  }
This resource enables the built-in authentication and authorization capabilities on the Azure Functions app. First, in the globalValidation section, it defines that the app only allows authenticated requests. If the app receives an unauthenticated request, it rejects it with a 401 HTTP error. Then, in the identityProviders section, the configuration defines that it uses Microsoft Entra ID (previously known as Azure Active Directory) to authorize requests. It specifies which Microsoft Entra app registration it uses to secure the API, and which audiences are allowed to call the API.
Examine the Microsoft Entra application registration
The final part to examine is the Microsoft Entra application registration that the project uses to secure the API with. When using OAuth, you secure access to resources using an application. The application typically defines credentials necessary to obtain an access token, such as a client secret or a certificate. It also specifies the different permissions (also known as scopes) that the client can request when calling the API. Microsoft Entra application registration represents an application in the Microsoft cloud and defines an application for use with OAuth authorization flows.
In Visual Studio Code:
- Open the ./aad.manifest.json file.
- Locate the oauth2Permissions property.
  "oauth2Permissions": [
    {
    "adminConsentDescription": "Allows Copilot to read repair records on your behalf.",
    "adminConsentDisplayName": "Read repairs",
    "id": "$",
    "isEnabled": true,
    "type": "User",
    "userConsentDescription": "Allows Copilot to read repair records.",
    "userConsentDisplayName": "Read repairs",
    "value": "repairs_read"
    }
  ],
The property defines a custom scope, named repairs_read that grants the client the permission to read repairs from the repairs API.
- Locate the identifierUris property.
  "identifierUris": [
    "api://$"
  ]
The identifierUris property defines an identifier that’s used to fully qualify the scope.
lab: title: ‘Exercise 4 - Test declarative agent in Microsoft 365 Copilot Chat’ module: ‘LAB 05: Authenticate your API plugin for declarative agents with secured APIs’ —
Exercise 34 - Test declarative agent in Microsoft 365 Copilot
In this exercise, you will test and deploy your declarative agent to Microsoft 365 and test it using Microsoft 365 Copilot Chat.
Exercise Duration
- Estimated Time to complete: 5 minutes
Task 1 - Test the declarative agent with the API plugin in Microsoft 365 Copilot
The final step is to test the declarative agent with the API plugin in Microsoft 365 Copilot.
In Visual Studio Code:
- In the Activity Bar, activate the Teams Toolkit extension.
-
In the Teams Toolkit extension panel, in the Accounts section, be sure you’re signed in to your Microsoft 365 tenant.
- In the Activity Bar, switch to the Run and Debug view.
-
From the list of configurations, choose Debug in Copilot (Edge) and press the play button to start debugging.
Visual Studio Code opens a new web browser with Microsoft 365 Copilot. If prompted, sign in with your Microsoft 365 account.
In the web browser:
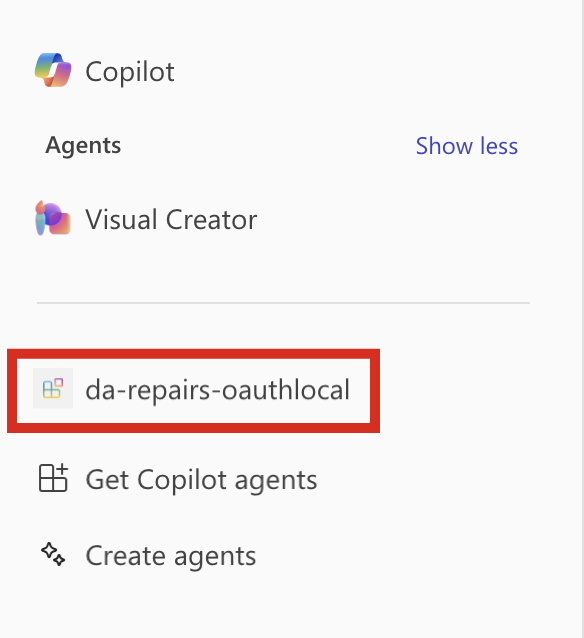
-
From the side panel, select the da-repairs-oauthlocal agent.
-
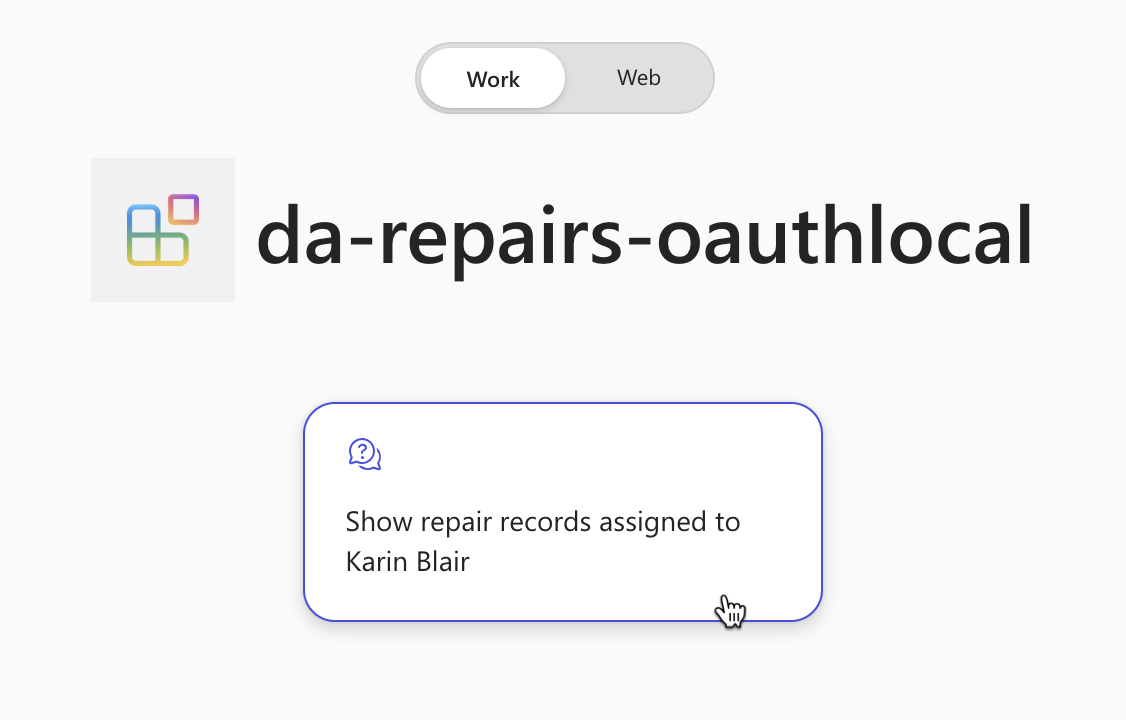
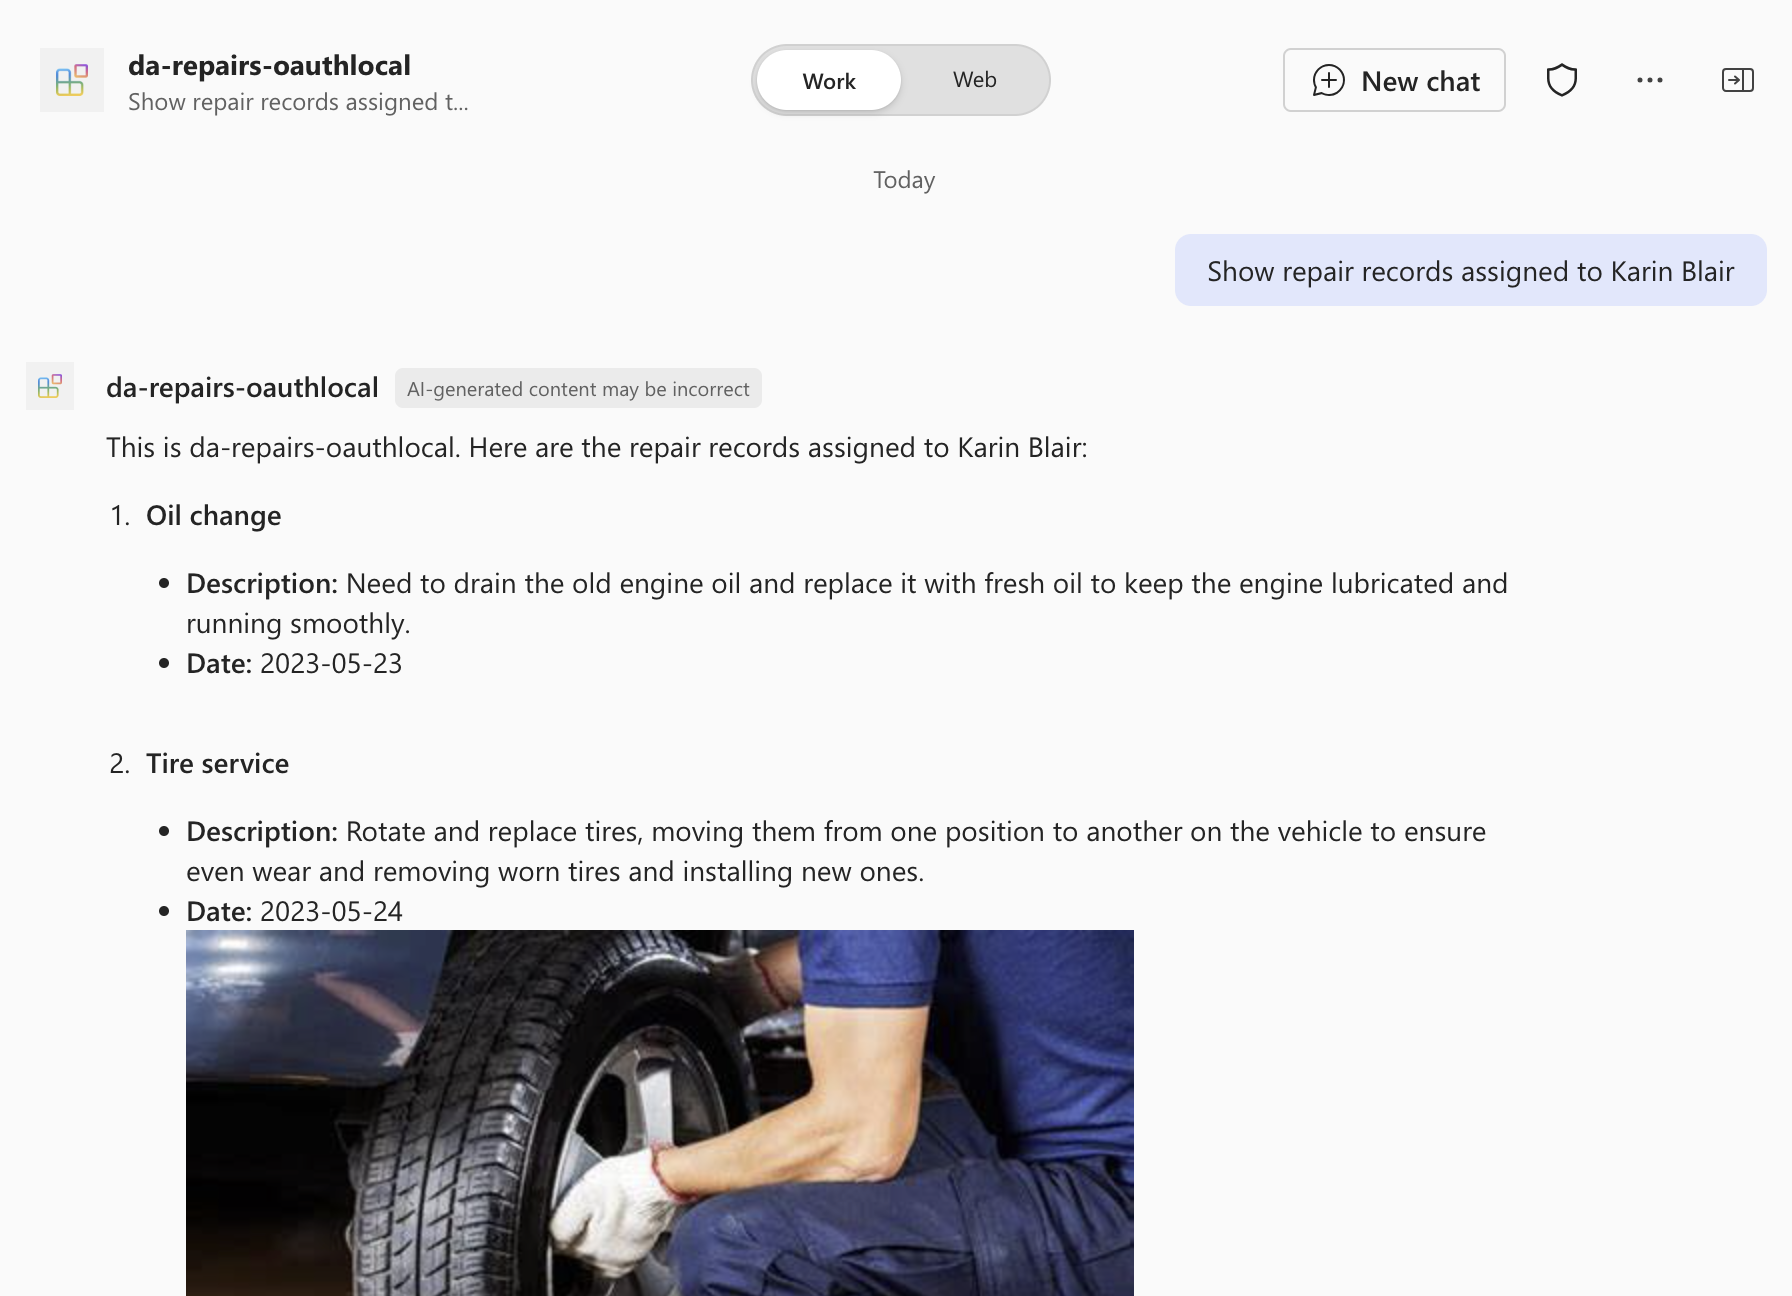
In the prompt text box, type
Show repair records assigned to Karin Blairand submit the prompt.[!TIP] Instead of typing the prompt, you can select it from the conversation starters.
-
Confirm that you want to send data to the API plugin using the Always allow button.
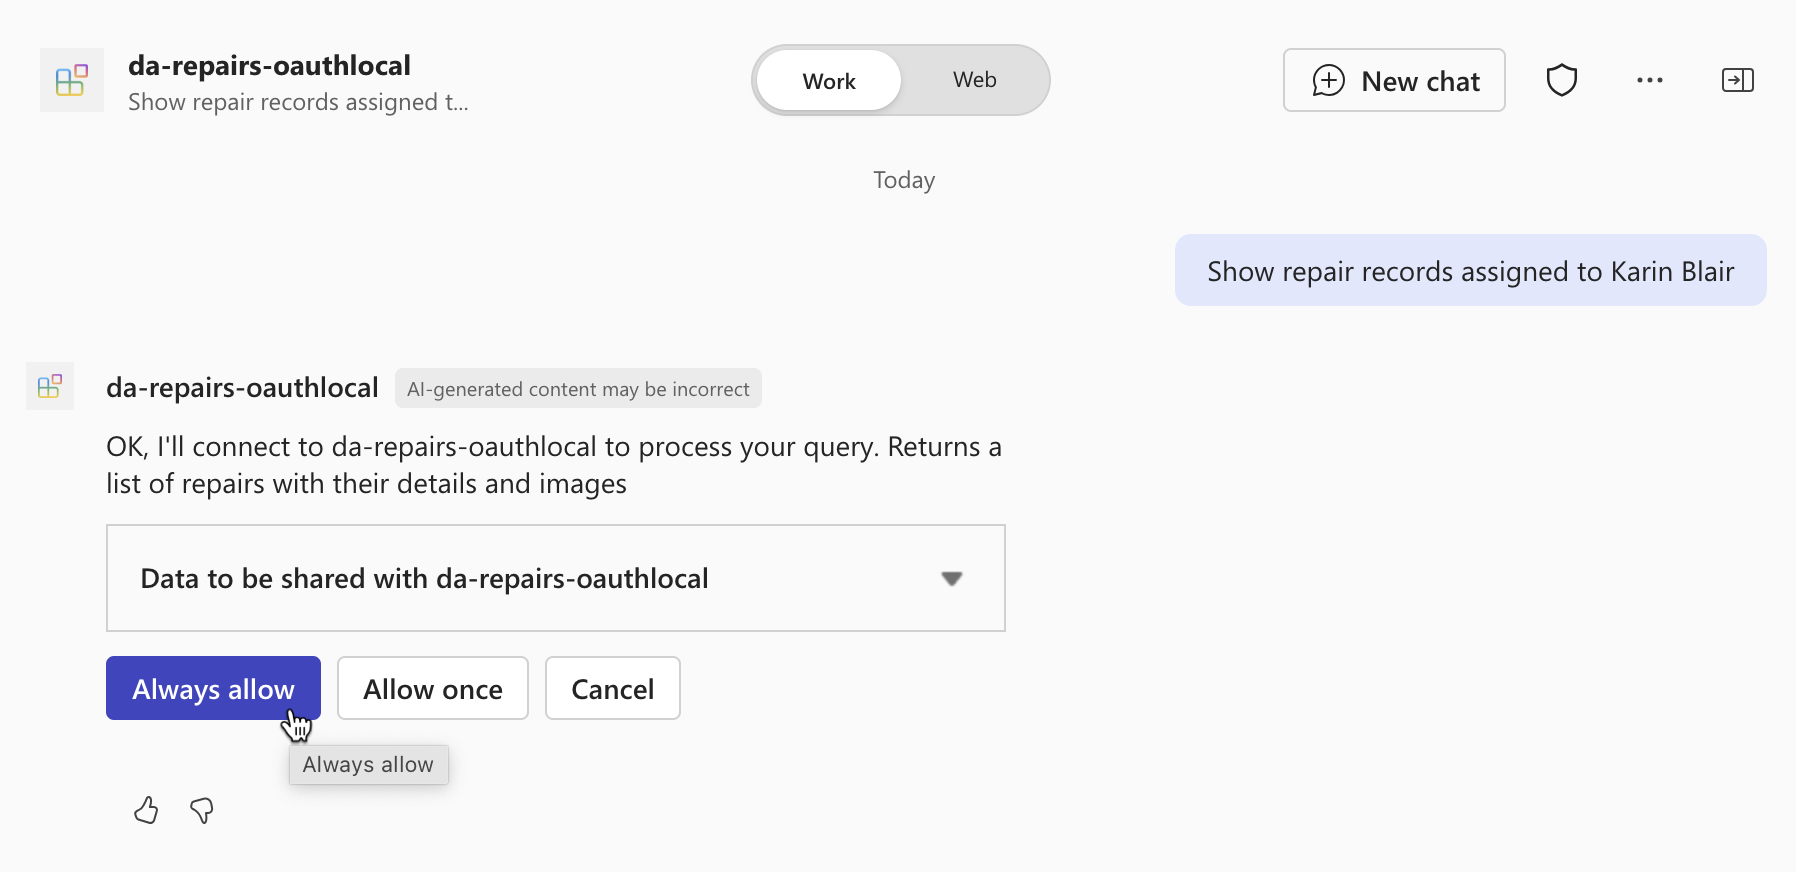
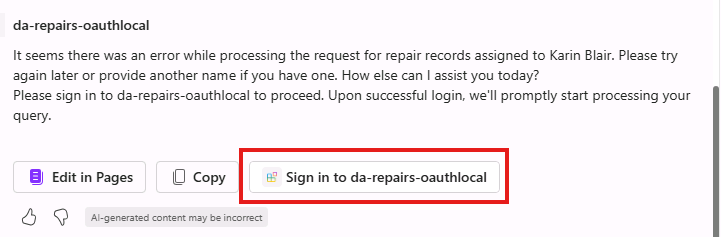
-
When prompted, sign in to the API to continue using the same account that you use to sign in to your Microsoft 365 tenant, by selecting Sign in to da-repairs-oauthlocal.
-
Wait for the agent to respond.
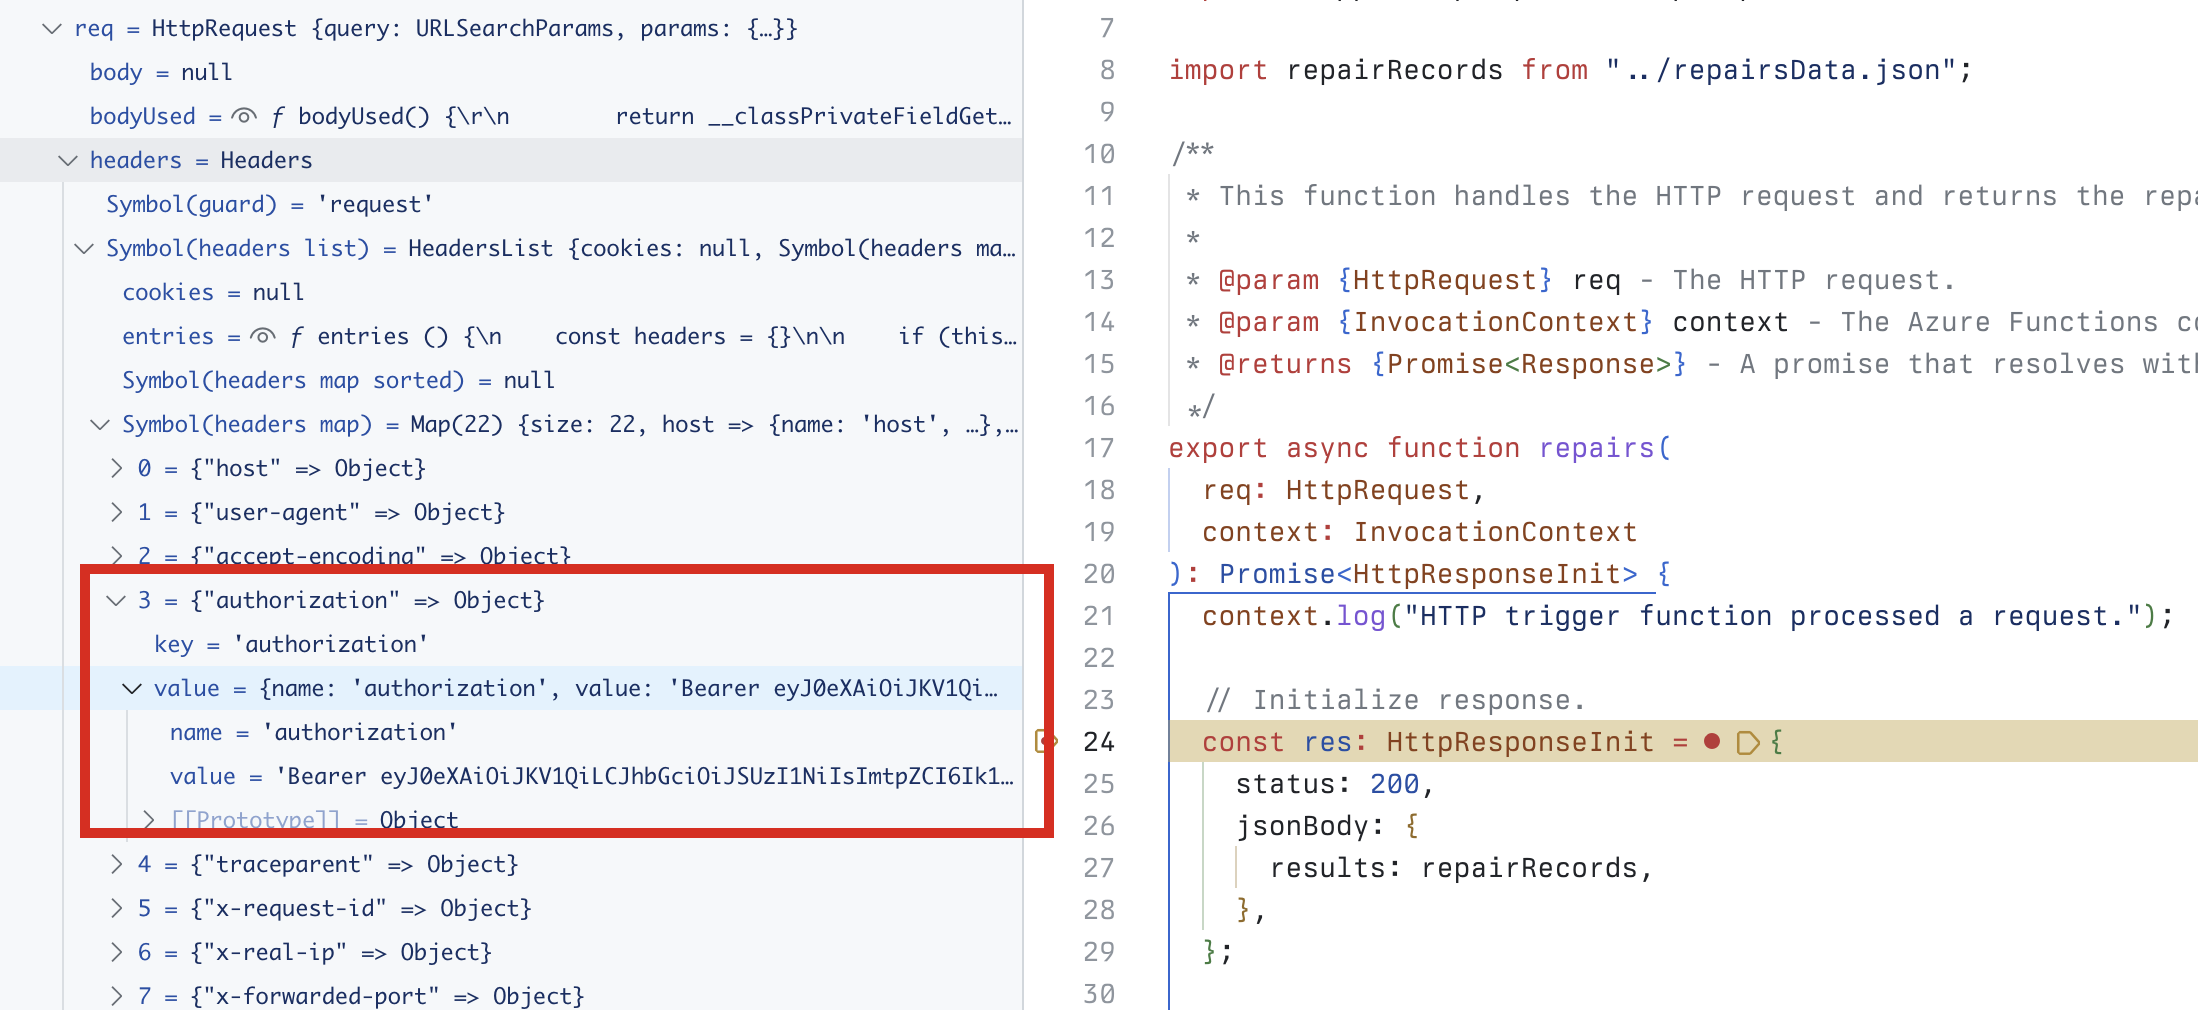
Even though your API is accessible anonymously because it’s running on your local machine, Microsoft 365 Copilot is calling your API authenticated as specified in the API spec. You can verify that the request contains an access token, by setting a breakpoint in the repairs function and submitting another prompt in the declarative agent. When the code reaches your breakpoint, expand the req.headers collection and look for the authorization header which contains a JSON Web Token (JWT).
Stop the debugging session in Visual Studio Code when you’re done testing.
You’re looking into building a solution for your car repair shop to let you and your colleagues easily look up information about the requested repairs using natural language.
You did some research and found that building a declarative agent for Microsoft 365 Copilot, integrated with an API plugin is suitable for your needs, because:
- It allows you to build an AI-powered assistant that understands natural language.
- It allows you to build on top of the infrastructure of Microsoft 365 Copilot.
- It allows you to use instructions to optimize the assistant to your scenario.
- It allows you to connect the assistant to the repairs management system so that it can answer authoritatively.
Previously, you and your colleagues had to manually lookup information in the repairs management system which was time-consuming and error prone.
By building a declarative agent, you offer a specialized assistant that you and your colleagues use to get answers to their questions. By integrating the agent with an API plugin, you connect it to the repairs management system so that it can provide authoritative answers. Having such an assistant saves you and your colleagues time, allowing you to focus on more specialized tasks.